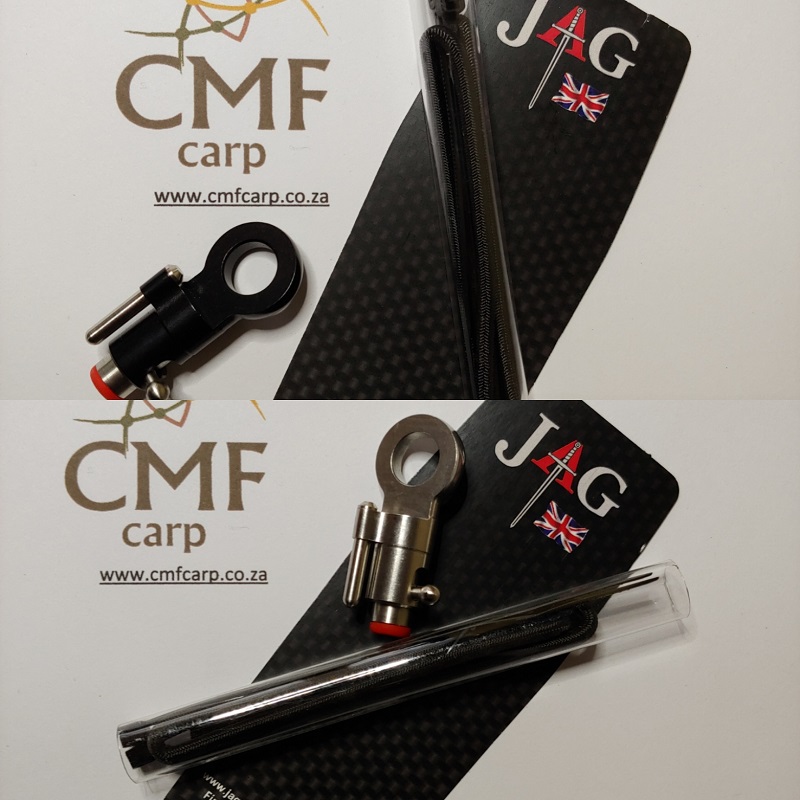
The JAG Rod Locker is a security attachment for carp and specimen fishing that physically locks your fishing rod to your bank stick, buzz bar, or rod pod using a flexible elastic retaining strap and a quick-release trigger. It prevents powerful fish or savage takes (especially during snag fishing or locked-up setups) from ripping your rod off the rest and pulling it into the water.
What the JAG Rod Locker Does
Snag & Locked-Up Fishing Safety: Holds the rod butt firmly in place even under extreme pull force (compatible with zero-stretch braided mainlines).
Instant One-Handed Release: Features a spring-loaded trigger pin/button. Pushing the button flips up or frees the elastic strap instantly so you can lift the rod in a single fluid movement.
Universal Compatibility: Fits standard industry thread sizes on bank sticks, buzz bars, and pods, and works alongside rear grips like the JAG Lockdown.
Handle Protection: Can be positioned in front of soft handles (cork or Duplon) or clipped around the reel seat to prevent indentations or grip damage.
How to Install and Set Up the JAG Rod Locker
Attach to Support:
Thread the JAG Rod Locker onto your bank stick, buzz bar, or rod pod thread, then attach your rear rest on top (or ensure the thread passes through cleanly).
Thread the Retaining Cord:
Take the supplied elastic cord and slide one tag end beneath the first retaining pin on the side of the locker.
For soft handles (like cork or Duplon), position the locker in front of the butt grip so the strap secures around the reel seat.
Route Over the Rod and Trigger:
Place your rod into the rest.
Pull the elastic loop over the rod blank (or reel seat) and bring it under the spring-loaded trigger pin.
Bring the other tag end around and insert it beneath the opposite retaining pin.
Tension and Secure:
Adjust the pull tension of the elastic cord so it holds the rod snug without being overly restrictive.
Slide a cable tie (zip tie) tightly around both tag ends right under the retaining pin to lock the elastic in place.
Trim and Finish:
Snip off the excess length of the cable tie and elastic tag ends, then carefully melt/blob the cut ends with a lighter to stop fraying.
Test the Mechanism:
Press the quick-release button/trigger to verify that the elastic flips free smoothly and that you can re-set it quickly with one hand.